Photo Tips – Flash for Natural Lighting
- DEC 06, 2017Warning: count(): Parameter must be an array or an object that implements Countable in /home/howlermag/public_html/old/wp-content/themes/new-paper/includes/general.php on line 193
Your Lead Paragrpah goes here
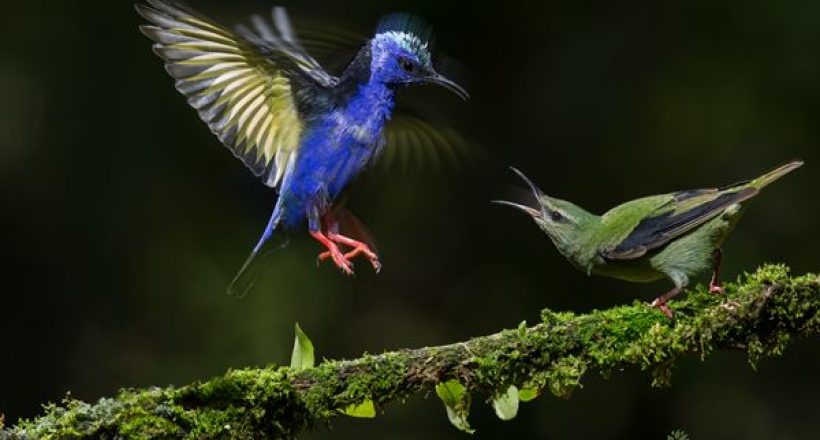
[vc_row full_width=”full_width”][vc_column][vc_column_text]Many nature photographers state proudly that they only photograph with natural light. Flash, they say, looks artificial. These photographers are dead wrong! Flash, used properly, can look very natural. Photographers who avoid flash because they think it looks bad are ignorant about one of the most important photography tools.
While the earliest flashes were basically gunpowder explosions, modern flashes provide light through very precise electrical charges passed through xenon gas in a small, controlled flashbulb. Through sophisticated interactions with each other, the camera and flash work together to provide the proper output for a given scene. The technical aspect of everyday shooters using flash is not that difficult.
[/vc_column_text][/vc_column][/vc_row][vc_row full_width=”full_width”][vc_column width=”2/3″][vc_column_text]Poor artistic understanding is what produces the “flashed look” that scares many photographers away from trying to use flash. Just remember this little tip, and you’ll be well on your way to pleasing flash photos. When working with flash, leaving or creating natural-looking shadows is key.
We photographers use flash in two ways. The first, and most common, is as fill-flash. This is where we try to balance the existing natural light with flash. It’s important in this scenario to add as little flash as possible. If we add too much, we overpower the scene and eliminate the existing shadows. Many cameras and flashes will allow you to control the flash output via a function called flash exposure compensation. Try to dial flash exposure compensation between -1 and -3. These low doses of fill-flash will allow the natural shadows to show through in your photo.
The second way we use flash is as main light. In this scenario, we are intentionally underexposing a scene and employing the flash to do all of the work on our subject. Think of a typical portrait studio. The big flashes that the studio photographer uses are providing all of the light for the photo. For outdoor nature photography, we can work the same way by setting our camera to underexpose the scene and letting the flash take over. The key is this: When using flash as the main light, you must bounce it or somehow have it coming from off-camera to create shadows. Failure to do so results in direct light, and direct light eliminates shadows. That’s a sure recipe for a “flashed looking” photograph.
Next time you’re out and about, experiment with your flash. Bounce it off a ceiling or some aluminum foil to light your subject. Once you start to get the hang of it, you will open yourself up to a whole new world of photographic creativity.
[/vc_column_text][/vc_column][vc_column width=”1/3″][vc_single_image image=”4136″ img_size=”full” add_caption=”yes” onclick=”link_image”][vc_single_image image=”4137″ img_size=”full” add_caption=”yes” onclick=”link_image”][vc_single_image image=”4138″ img_size=”full” add_caption=”yes” onclick=”link_image”][vc_single_image image=”4139″ img_size=”full” add_caption=”yes” onclick=”link_image”][vc_single_image image=”4135″ img_size=”full” add_caption=”yes” onclick=”link_image”][/vc_column][/vc_row]


